
I also wanted to make a generator strong enough to run a motor. The first, and second simple generator I built and the previous three phase generator did not run motors well. So a few months back I started collecting parts for a new generator.
Once again I used the same website as inspiration, an excellent description of how to construct a three phase hand crank generator. The largest conceptual changes I made from his design were using transformer steel discs instead of powdered iron in epoxy for the cores and backing iron, and a Y connection for the coils rather than a delta connection which allowed me to have a four wire system rather than a three wire. I also have yet to match his belt drive which is really quite excellent.
The first step in making the generator was to make some coils. I decided to make 12 coils out of 24 gauge magnet wire. I simply wrapped the wire 100 times around a few of the one inch disc magnets I purchased for this project.

Then I procured a few sheets of transformer steel and a disc cutter. This cutter could make 7/8th inch circles out of the transformer steel fairly quickly. Unfortunately the transformer steel I got was really really thin. It took a very long time to make the several hundred discs required.

These discs were used to make 12 larger cylinders by gluing the discs together with JB weld. I also tried the JB weld steelstik shown in this picture, but it just dried too fast to be easily used so I ultimately gave up on it.

Next I wanted a backing iron. Essentially the idea behind both the steel cores, and the backing iron is the same. You want a path for magnetic fields to go from a magnetic north pole, through your cores, and to a nearby magnetic south pole, while entirely in transformer steel. Any gaps of air, or any other non ferromagnetic material will lower the efficiency. The cores and backing iron must be sheets of transformer steel (or powdered steel/iron) because if you use a large steel block eddy currents will flow in the steel sapping efficiency. So I cut out about 10 squares of transformer steel to use for the backing iron.


Next I attached the backing iron to the wooden block. The first two layers were wood glue in the hopes I could rescue the backing iron should the project be a failure. The rest of the layers were held together by JB weld. That did not seem like it would be strong enough so I also used four bolts with a large washer to hold the backing iron to the wood.


Next I placed the 12 coils I made on the cores.

Then I soldered the coils together to produce three phases and a neutral. Understanding the wiring for this is difficult, and I cannot beat this explanation so I will not even try. Still, I should show how I wired this up, so I included the following sketch. The 12 coils are connected together into 3 groups of 4 coils which are wired together. Then one end of each of the 3 groups is soldered together to produce the neutral. The other end of each of the three groups is the phase wire.

Finally the rotor needed to be constructed. I used a saw blade for the base. It can be solid steel since it is not moving relative to the magnets and therefore will not have eddy currents flowing within it. I used JB weld to attach a washer to one side of the blade, placed a 5/16th inch bolt through the washer, and held several more washers on the other side with two nuts. Then the 8 magnets were placed an equal distance apart. They were set up so each one had the opposite pole up, so if one magnet had North Pole up, the two next to it would be South pole face up.


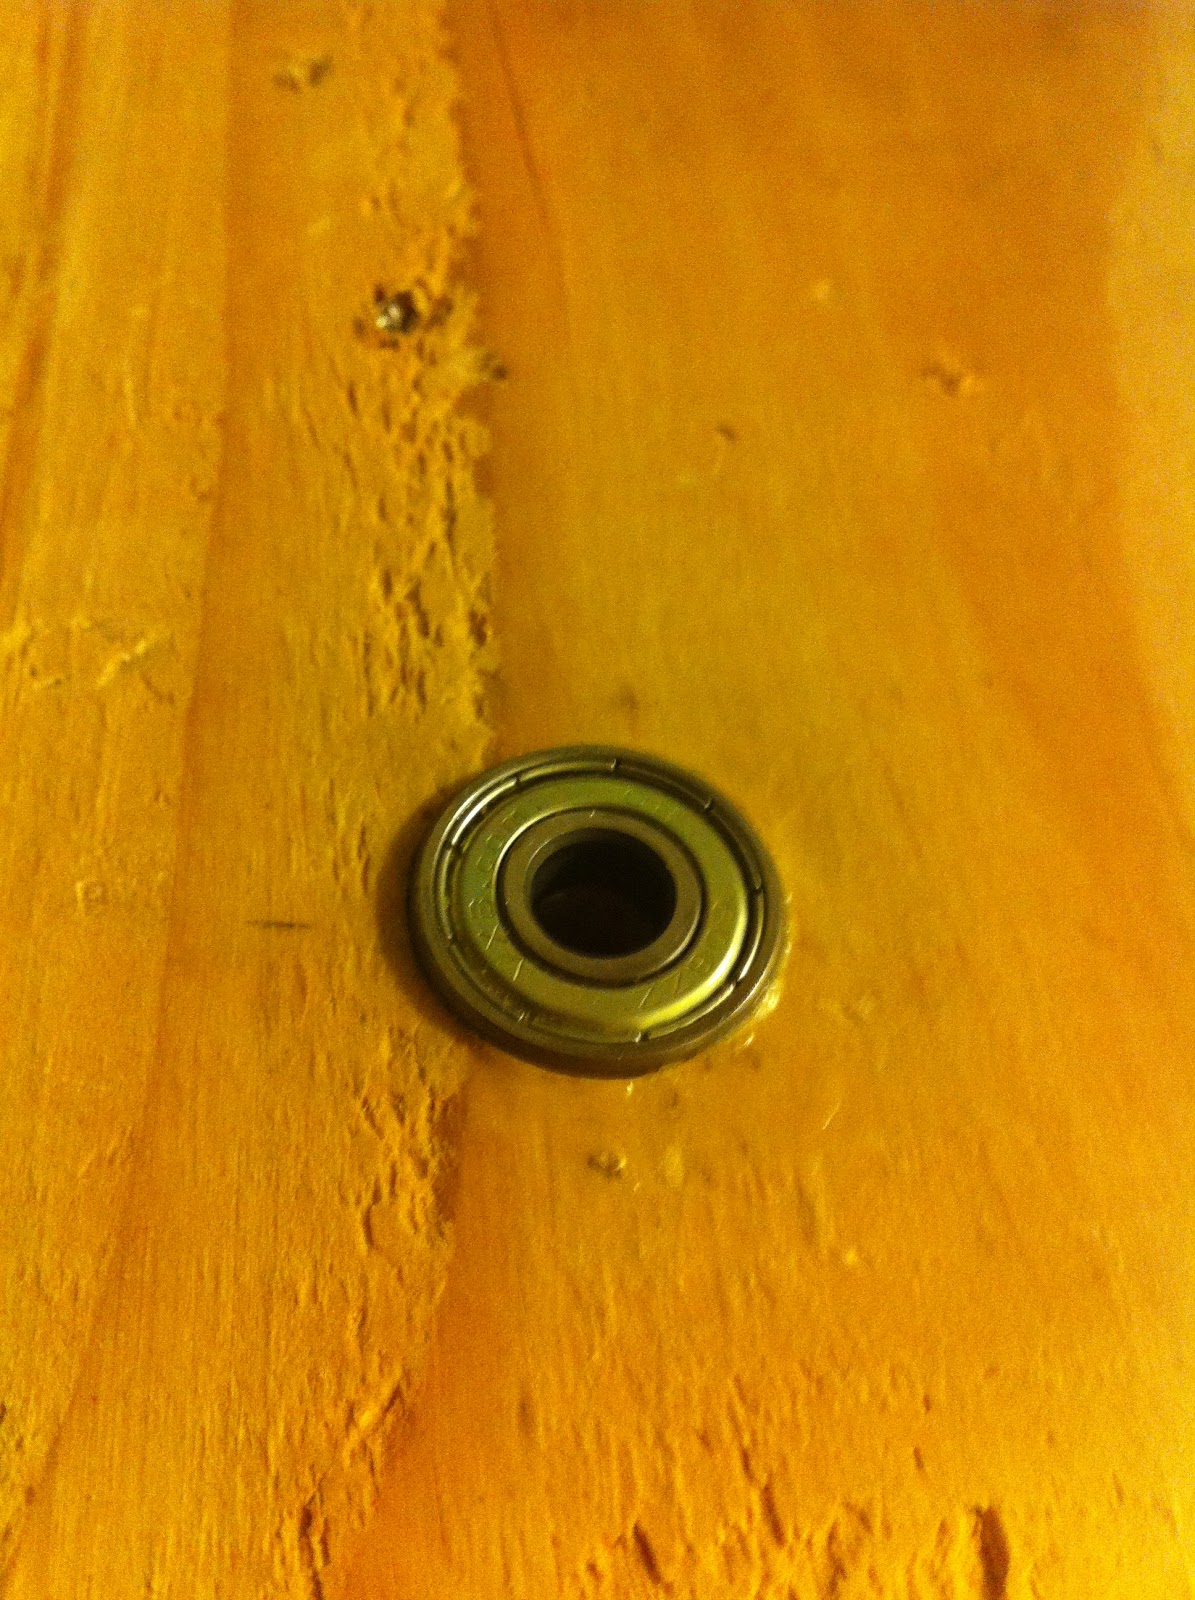
I put masking tape around the bolt to lock the nuts in place and because there would be less wobble in the bearings when I did so.
This generator has 8 magnets and 12 coils. This number of magnets and coils will produce three phases with peak voltages 120 degrees apart. By changing the number of magnets or coils it would be possible to make any number of phases, but I stuck with this since it matches what utilities use.
Lastly I bought some rubber feet for the bottom of the block and placed the bolt through the two bearings so the magnets are just above the coils. Here are some pictures of the final product.


Here is a video I took on my iphone of the generator connected to a cd motor. CD motors are Brushless DC motors, which are really just small three phase motors which are typically run on a small inverter. They will run just fine on the three phase power that this motor produces.
The generator produces about 5 volts (phase to phase) open circuit and short circuited will produce a half ampere of current. This isn't a lot of power, but it is enough for many basic demonstrations about how electricity works.
The biggest failure of this generator is that the air gap between the coils and the magnet is just too large. The problem is that there are 8 magnets each with a pull strength of about 12lbs. When they get close to the cores, the downward force on the rotor is about 100 lbs. More importantly, the upward force on my coils and backing iron is about 100lbs. Whenever I get much closer the cores seemed to break. That wasn't so bad since I could fix a few of them as they break, but some layers in my backing iron started to break which is hard to fix. Most likely this is the two layers I connected together with wood glue. Since the generator seemed to be working about as well as I wanted I decided to stop fiddling with closing that air gap, but I may take on that challenge in the future.
The other issue is that you just cannot spin the rotor very fast by hand. With a proper belt setup I could probably get the rotor to spin up at a thousand rpm or so. That would likely be capable of producing as much electricity as someone can make with a hand crank or perhaps be used on a small wind generator.
No comments:
Post a Comment